
Great nail DIY decoration--Easy to use!
Owning it, you can create beautiful shining nails by yourself like a Professional nail shop.
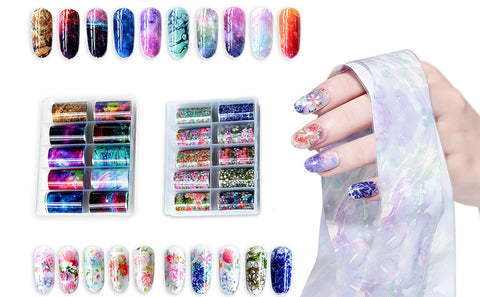
PLEASE NOTE
- Make sure to let nail polish or base coat to almost dry( at least 3 minutes) before applying the stickers!
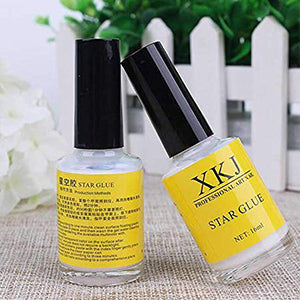
- Apply a thin layer of the adhesive, making sure you wait until the glue changes from white to clear.
- The product will be frozen in some countries, so it is not recommended to buy due to the cold weather.
- Glue smells slightly irritating, kindly understand.
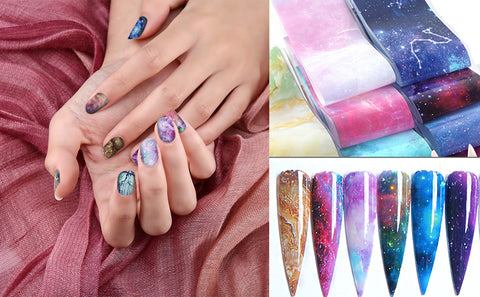 Specification:
Material: paper
Item Type: Sticker & Decal
Style: Holographic Nail Foil
Size: Approx. 4.0*100cm
Quantity: 30 Rolls
Color: As the picture shows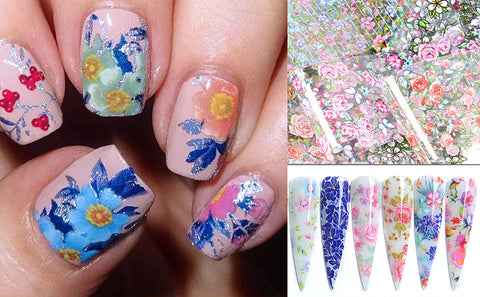
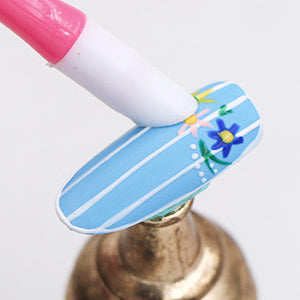
nail tool stick
Nail cuticle pushers are made of high-quality Acrylic, can be used for a long time.
star sticker glue
DIY Nail Art Transfer Foil Galaxy Paper Tip Decor Star Sky Design Star Glue Set
storage box
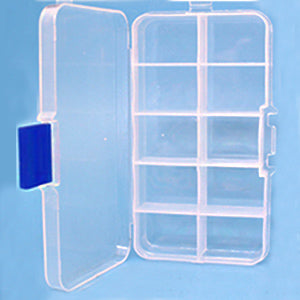
10 rolls of nail foils are storage in a clear box, which can are handy for you to storage these nail foils. With the transparent box, you can see through the nail foil color without opening it.
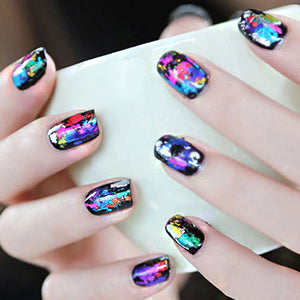
Way 2: Full transfer
- Select your nail foil style and cut off in a suitable size
- File, shape your nails, apply base coat and cure it
- Optional - Apply nail gel polish as the base color, cure it
- Apply a layer of nail art glue, and cure it
- Spread the sticker fully on the nail surface
- Press evenly and repeatedly with thumbs and index finger
- Remove the sticker carefully and repeat printing on the nail surface where didn't transfer
- Apply the top coat and cure it for long lasting result
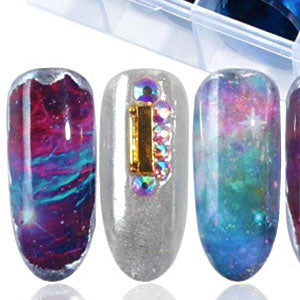
Way 3: Mixed transfer
You can choose some of our colorful decoration stickers to DIY a mixed transfer, or apply other nail-looking by mixing decorations such as glitters and gems, simply creating as much brilliant style as you think.
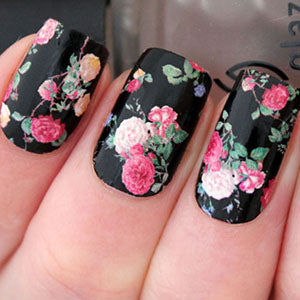
Attention for polish:
1. Apply nail polish as a base coat,
2. Press the nail foil on your nails before the polish is dried,
3. Remove the foil after the foil pattern stuck to your nail,
4. Seal it with top coat.


